Create the Kubernetes cluster in Scaleway
Before deploying applications, you first need to create the Kubernetes cluster. You can use the cloud provider you prefer, in this tutorial we use Scaleway.
Following this tutorial includes cost in the cloud provider. Be sure to understand what you do before processing.
Requirements
You need to create an account and add a payment method in order to be able to create the cluster. Follow their registration process to do so.
You also need to have the kubectl CLI installed.
Configure the cluster
Once you have your account, go to the console, and click on Kubernetes. You should see the following screen:
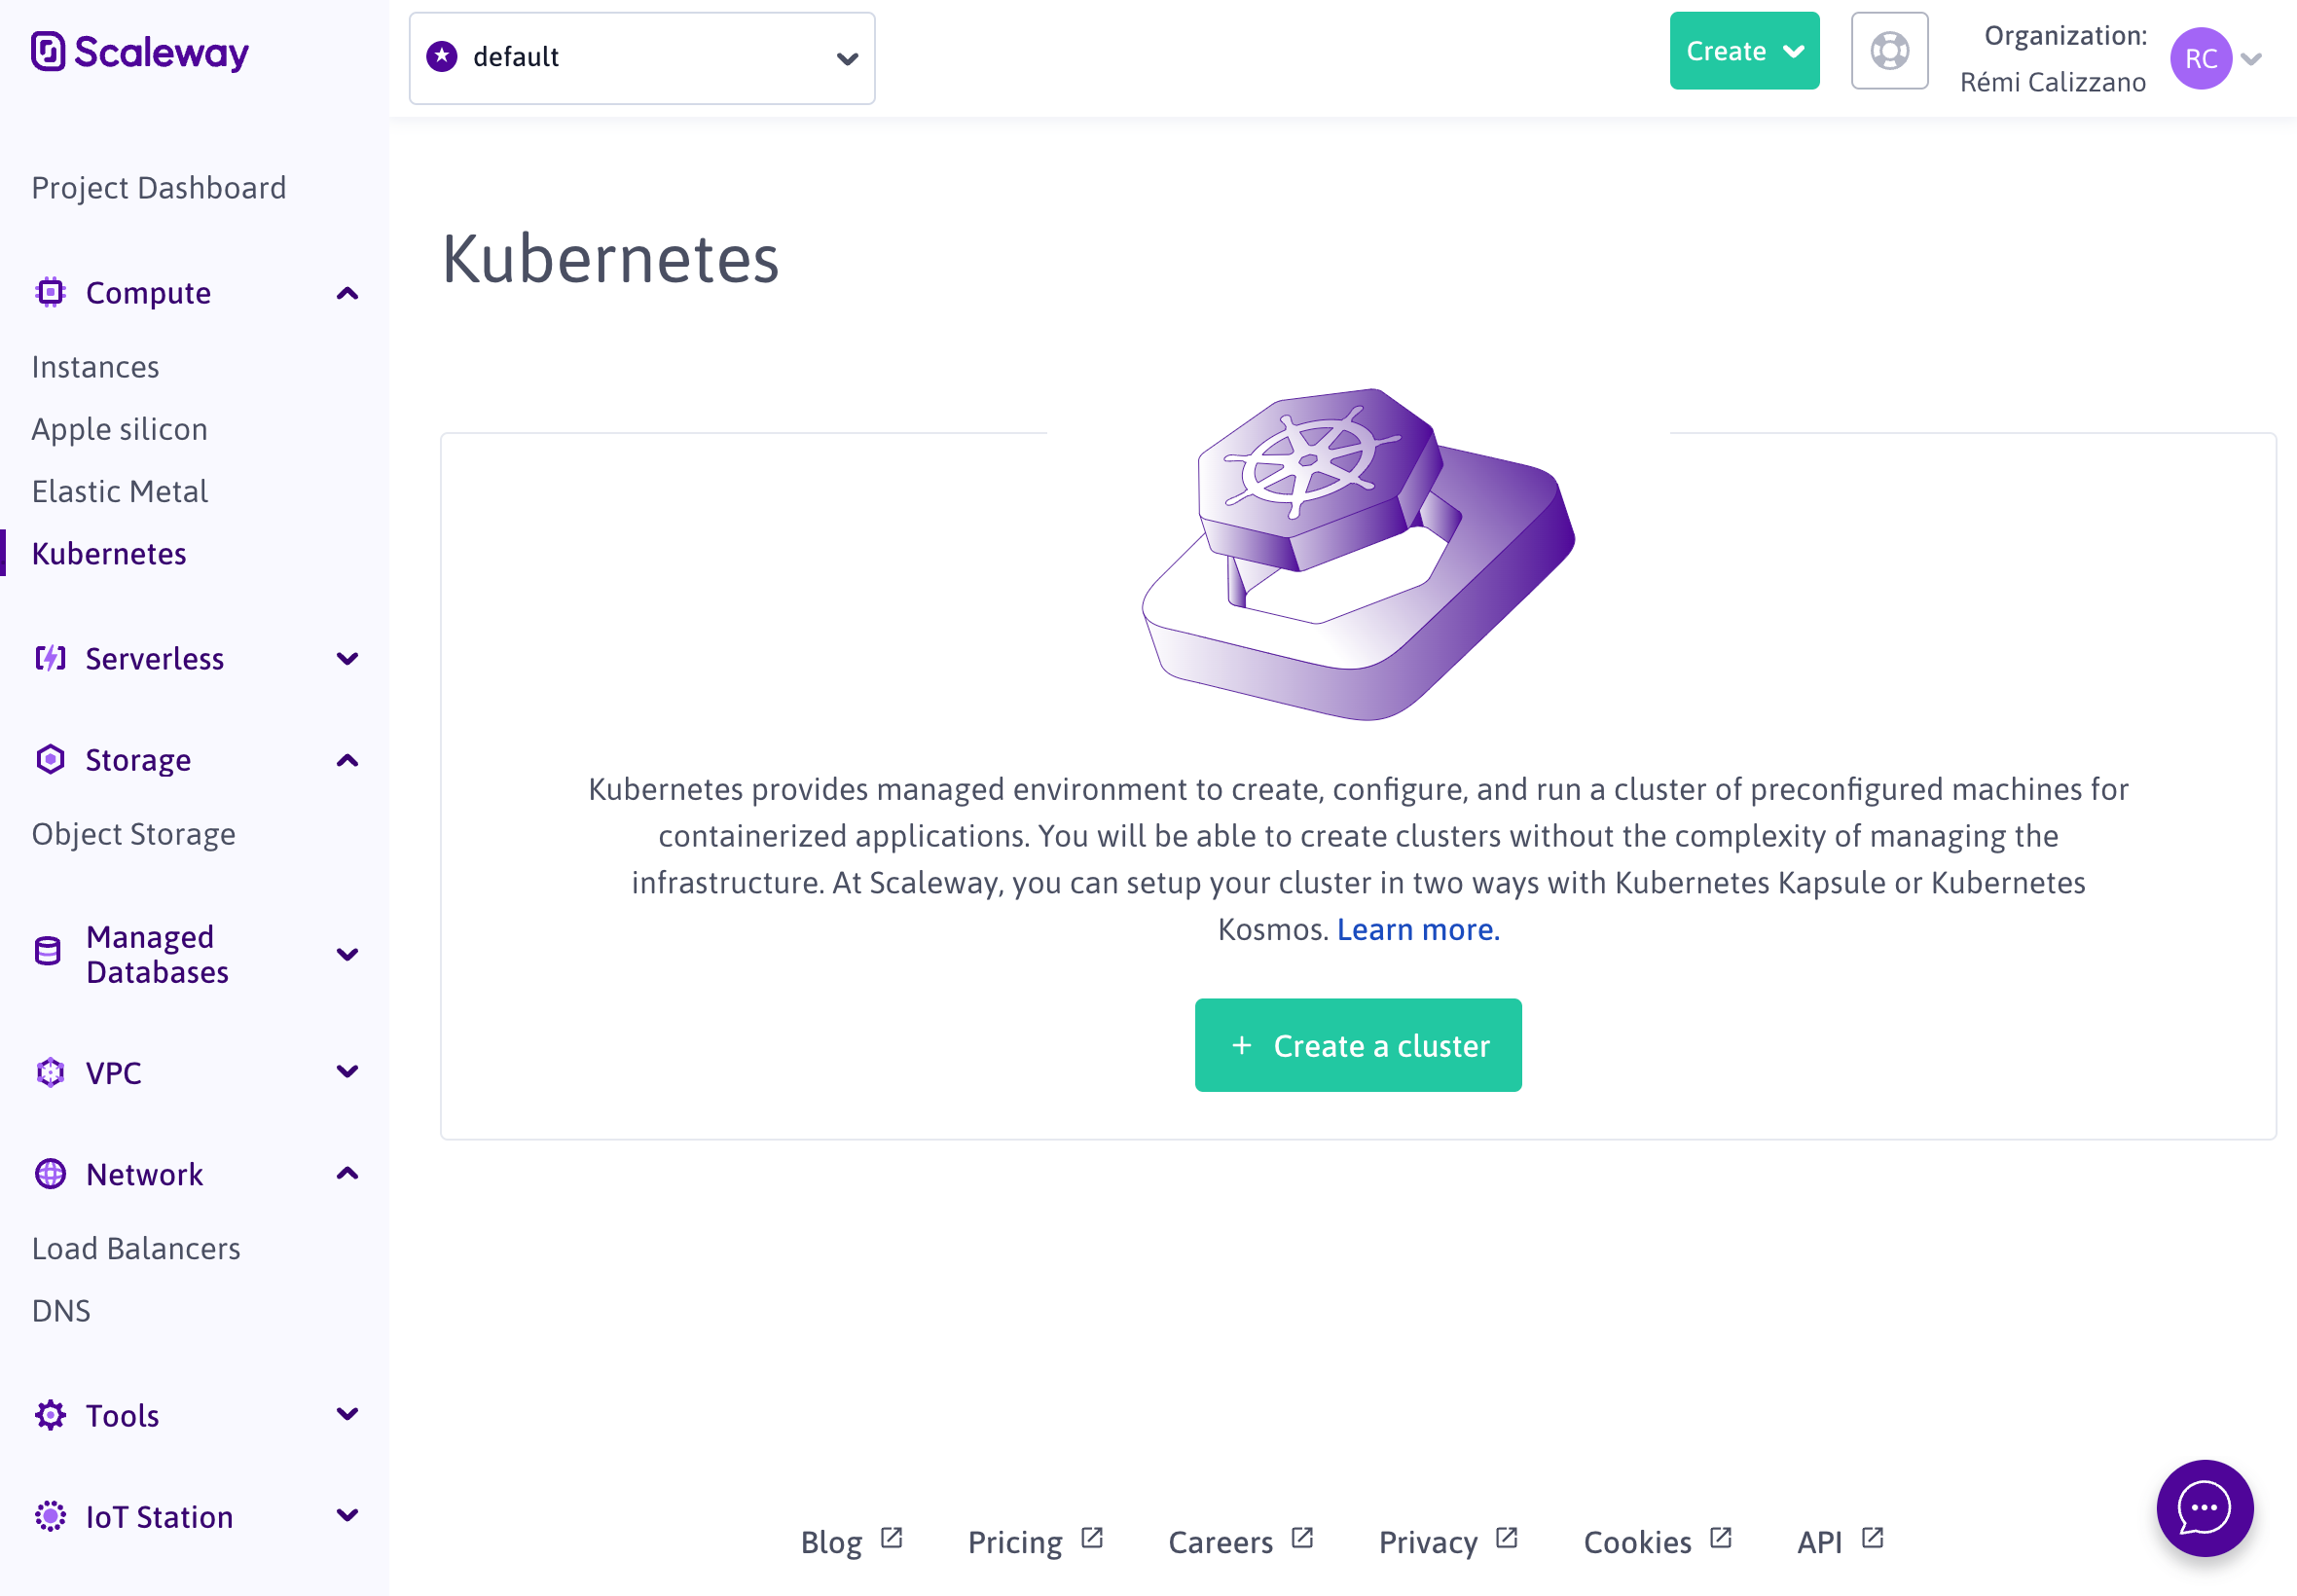
Click on "Create the cluster" to start the cluster configuration.
You can use the following configurations, or adapt your cluster depending on your needs:
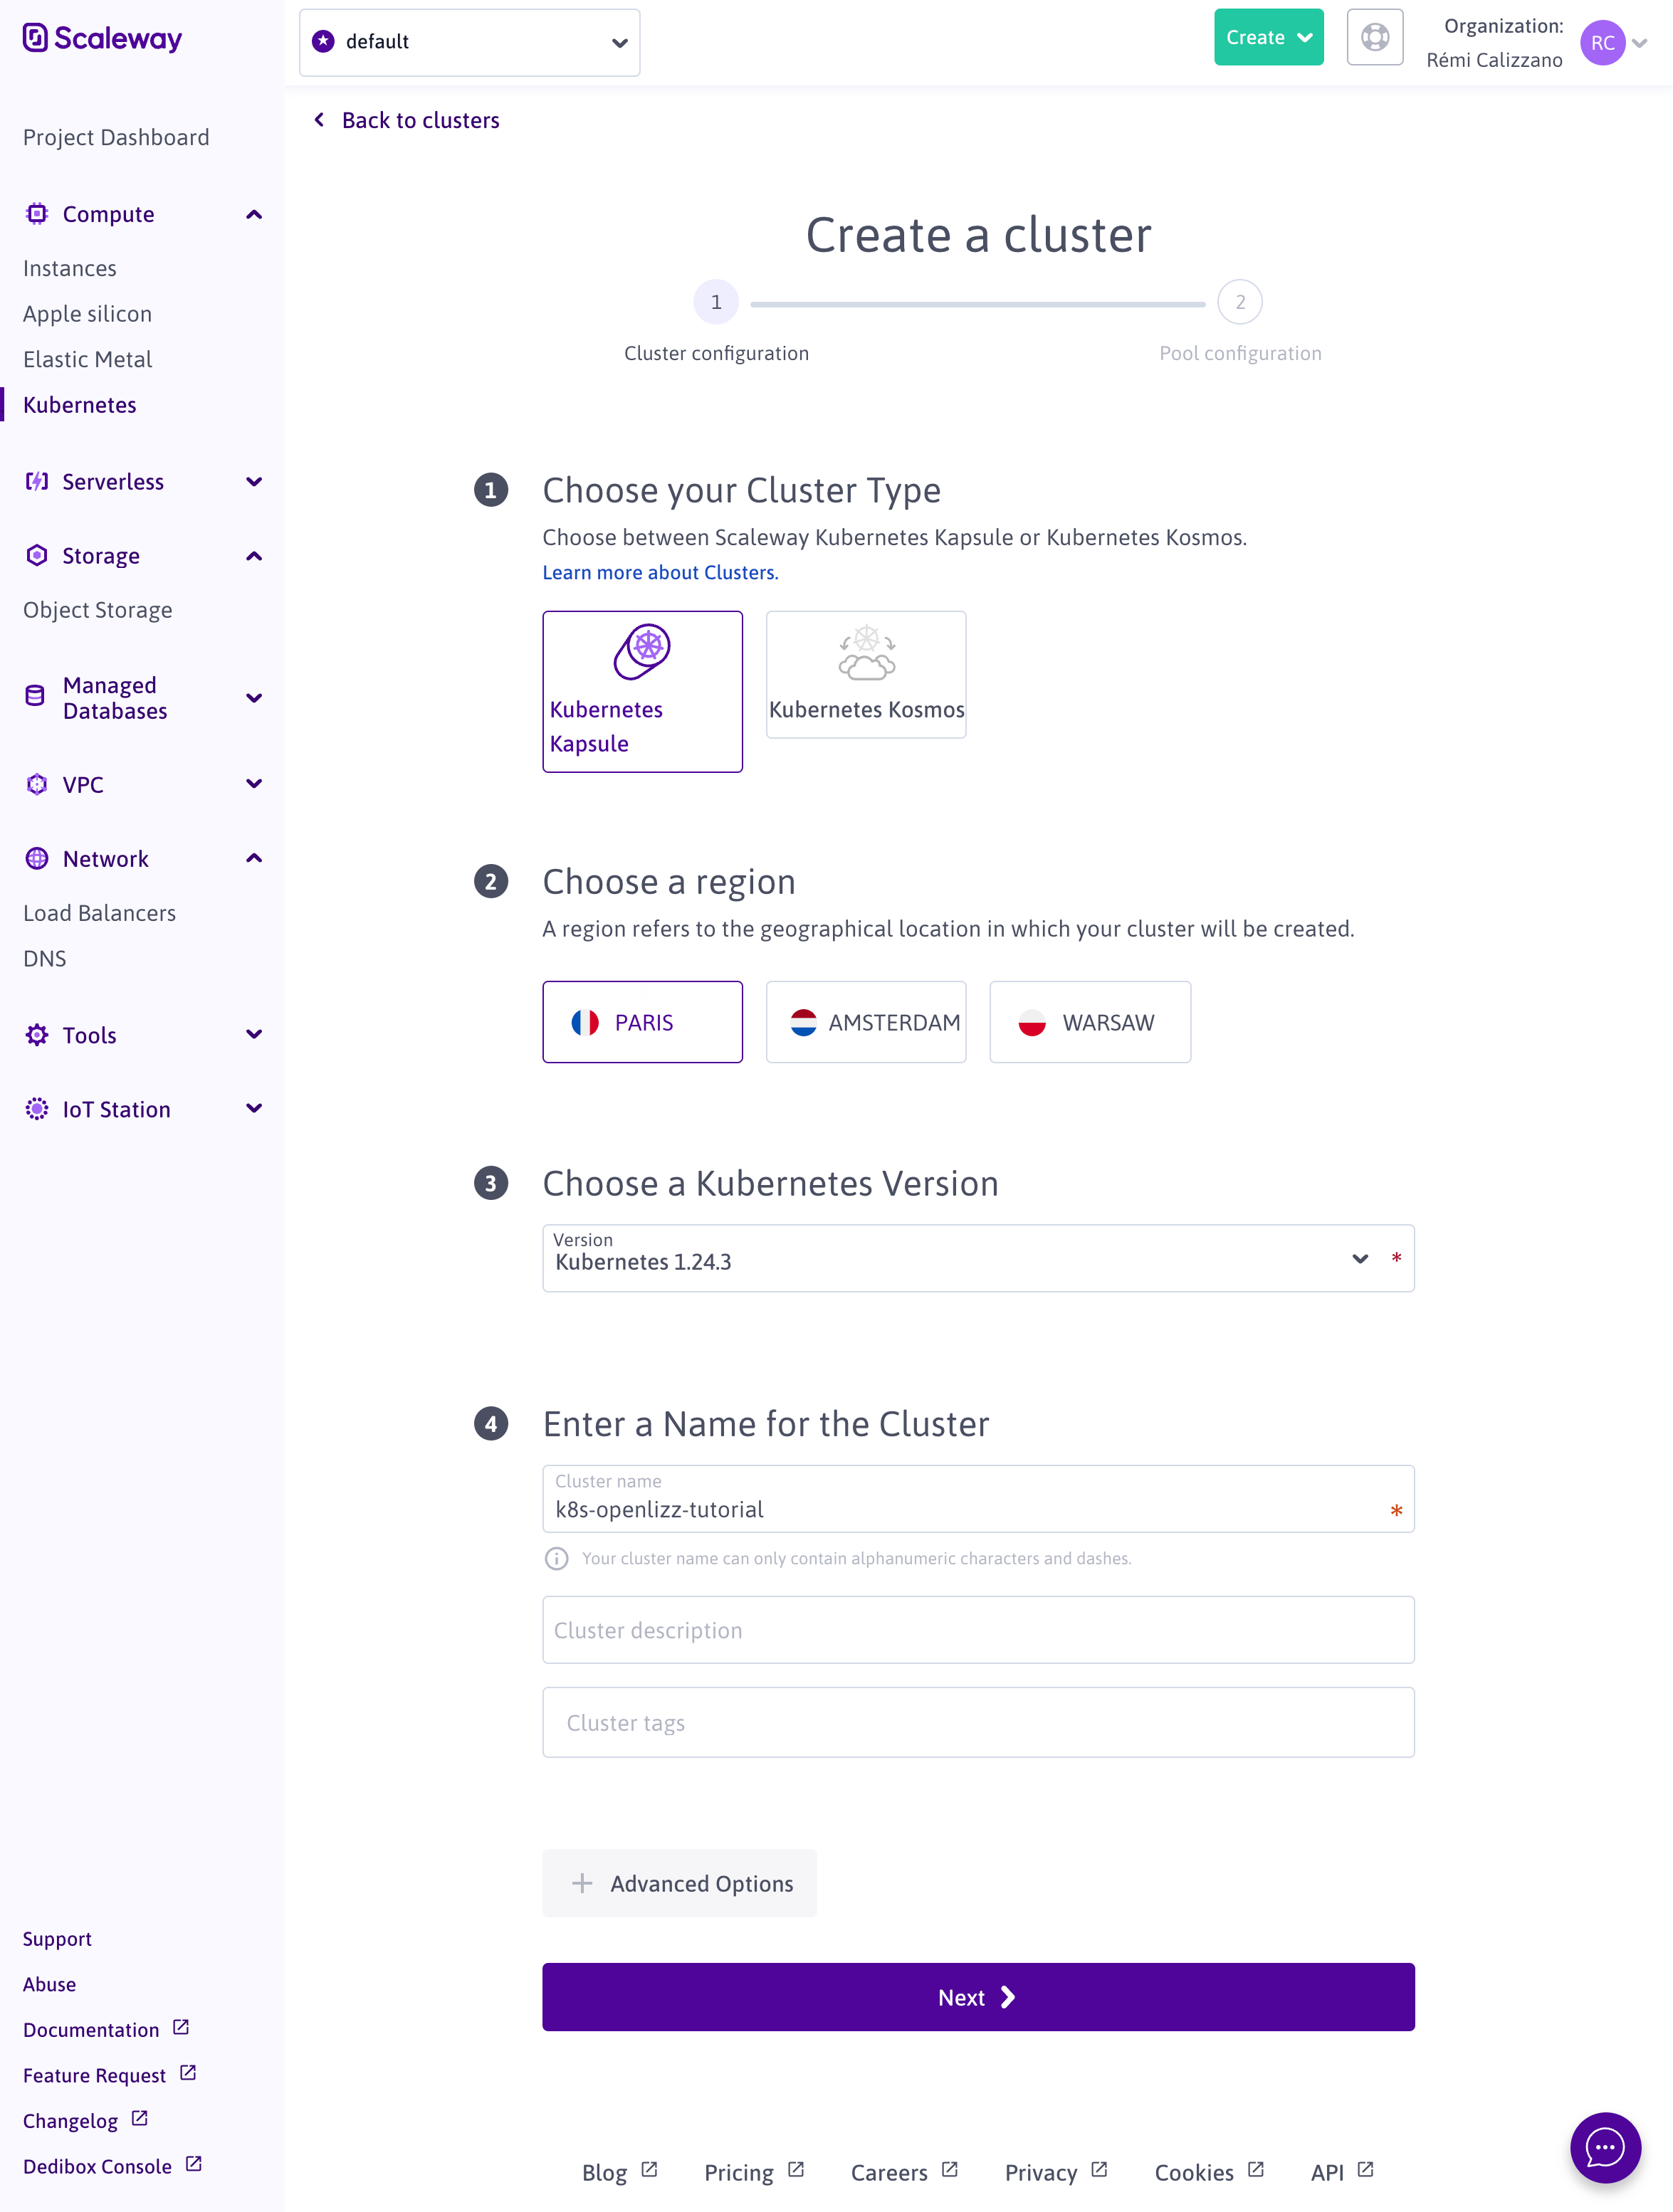
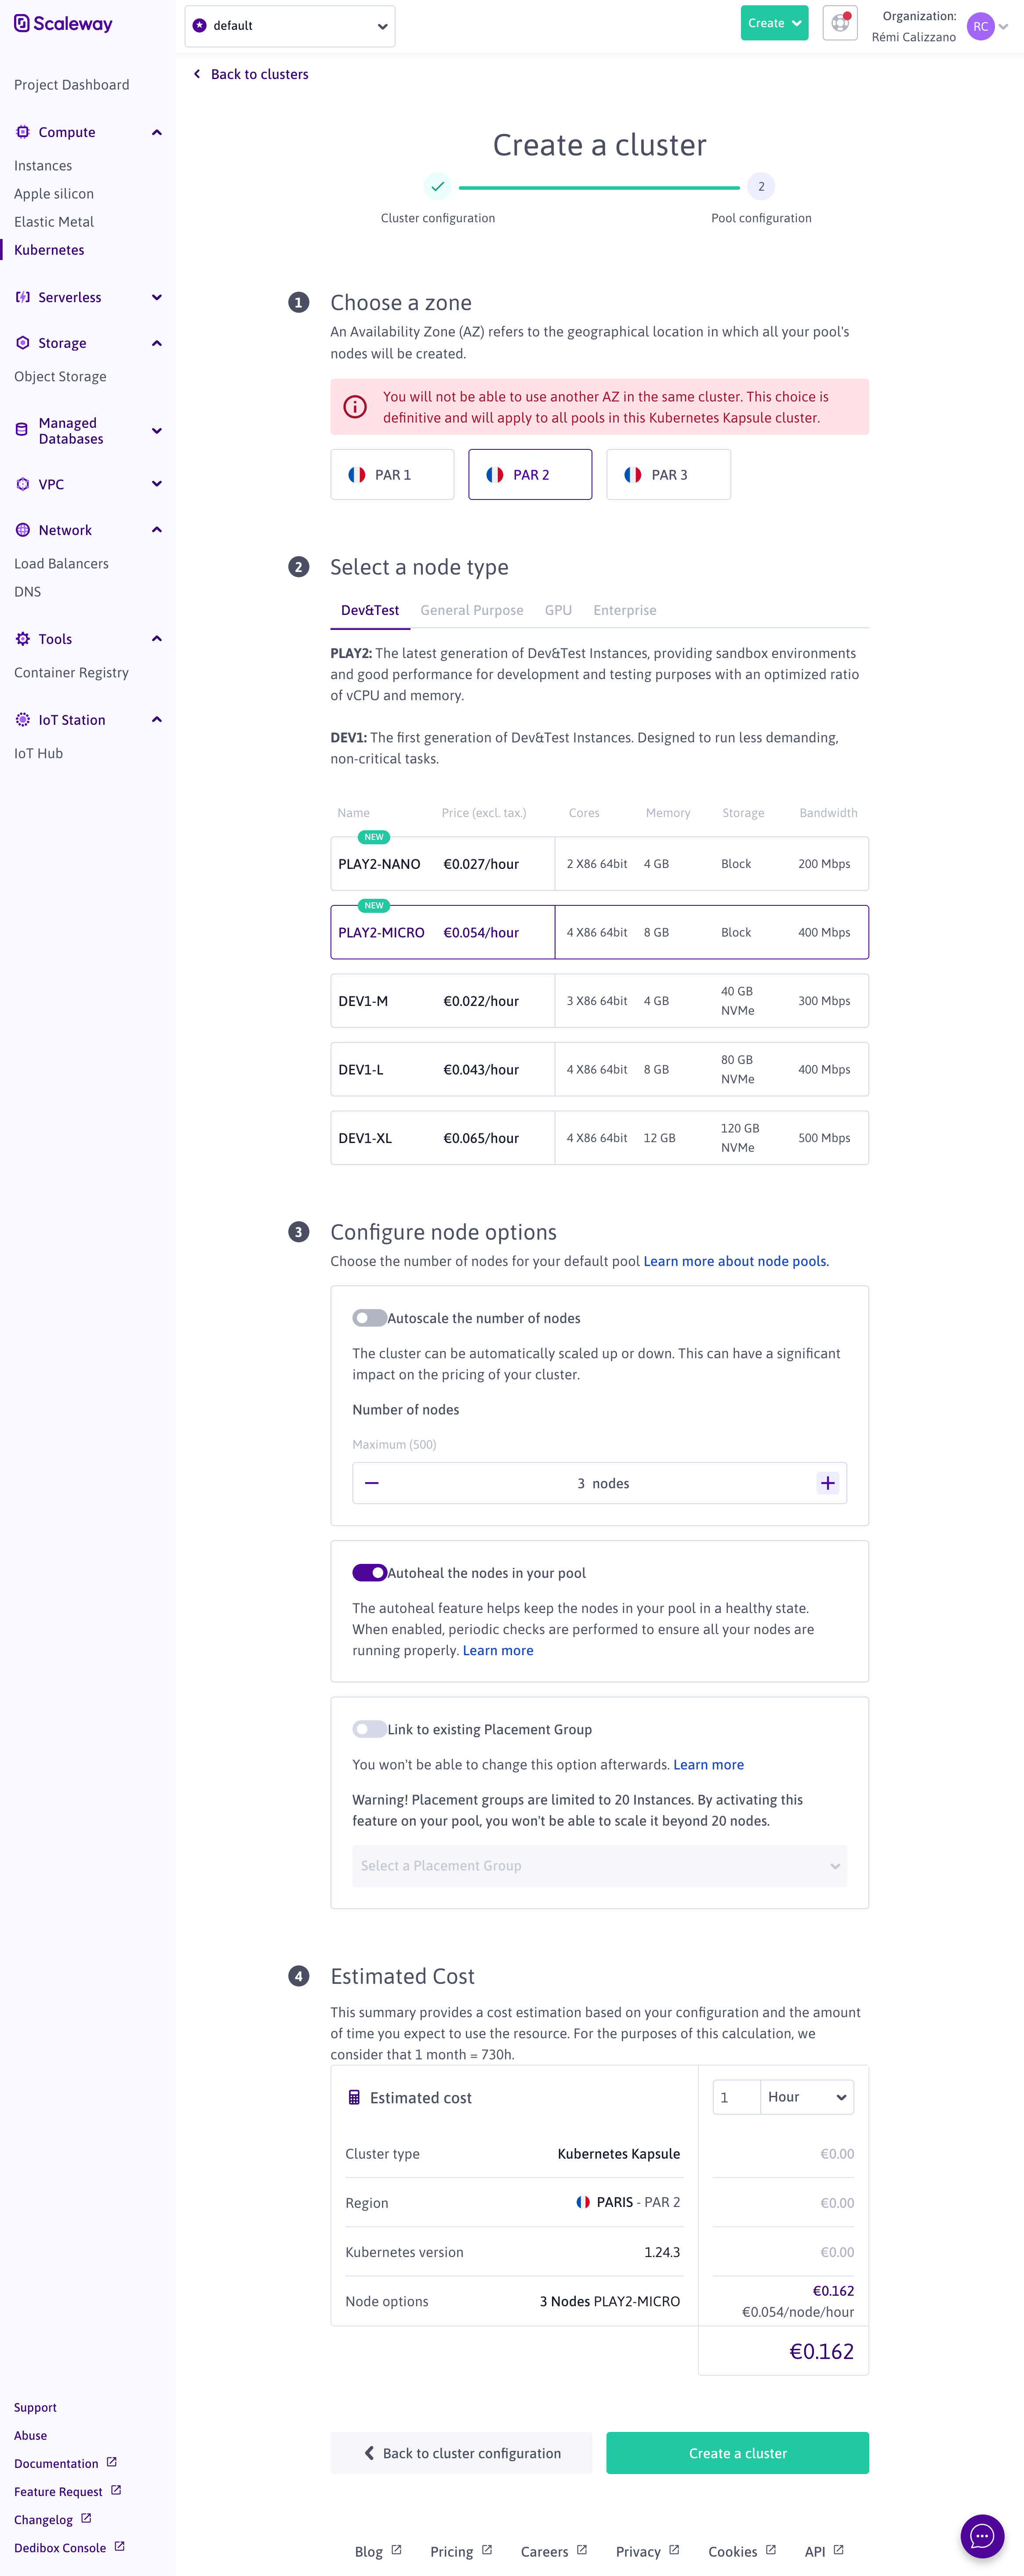
When the configuration is ready click "Create a cluster" and wait a couple of minutes for the nodes to be ready.
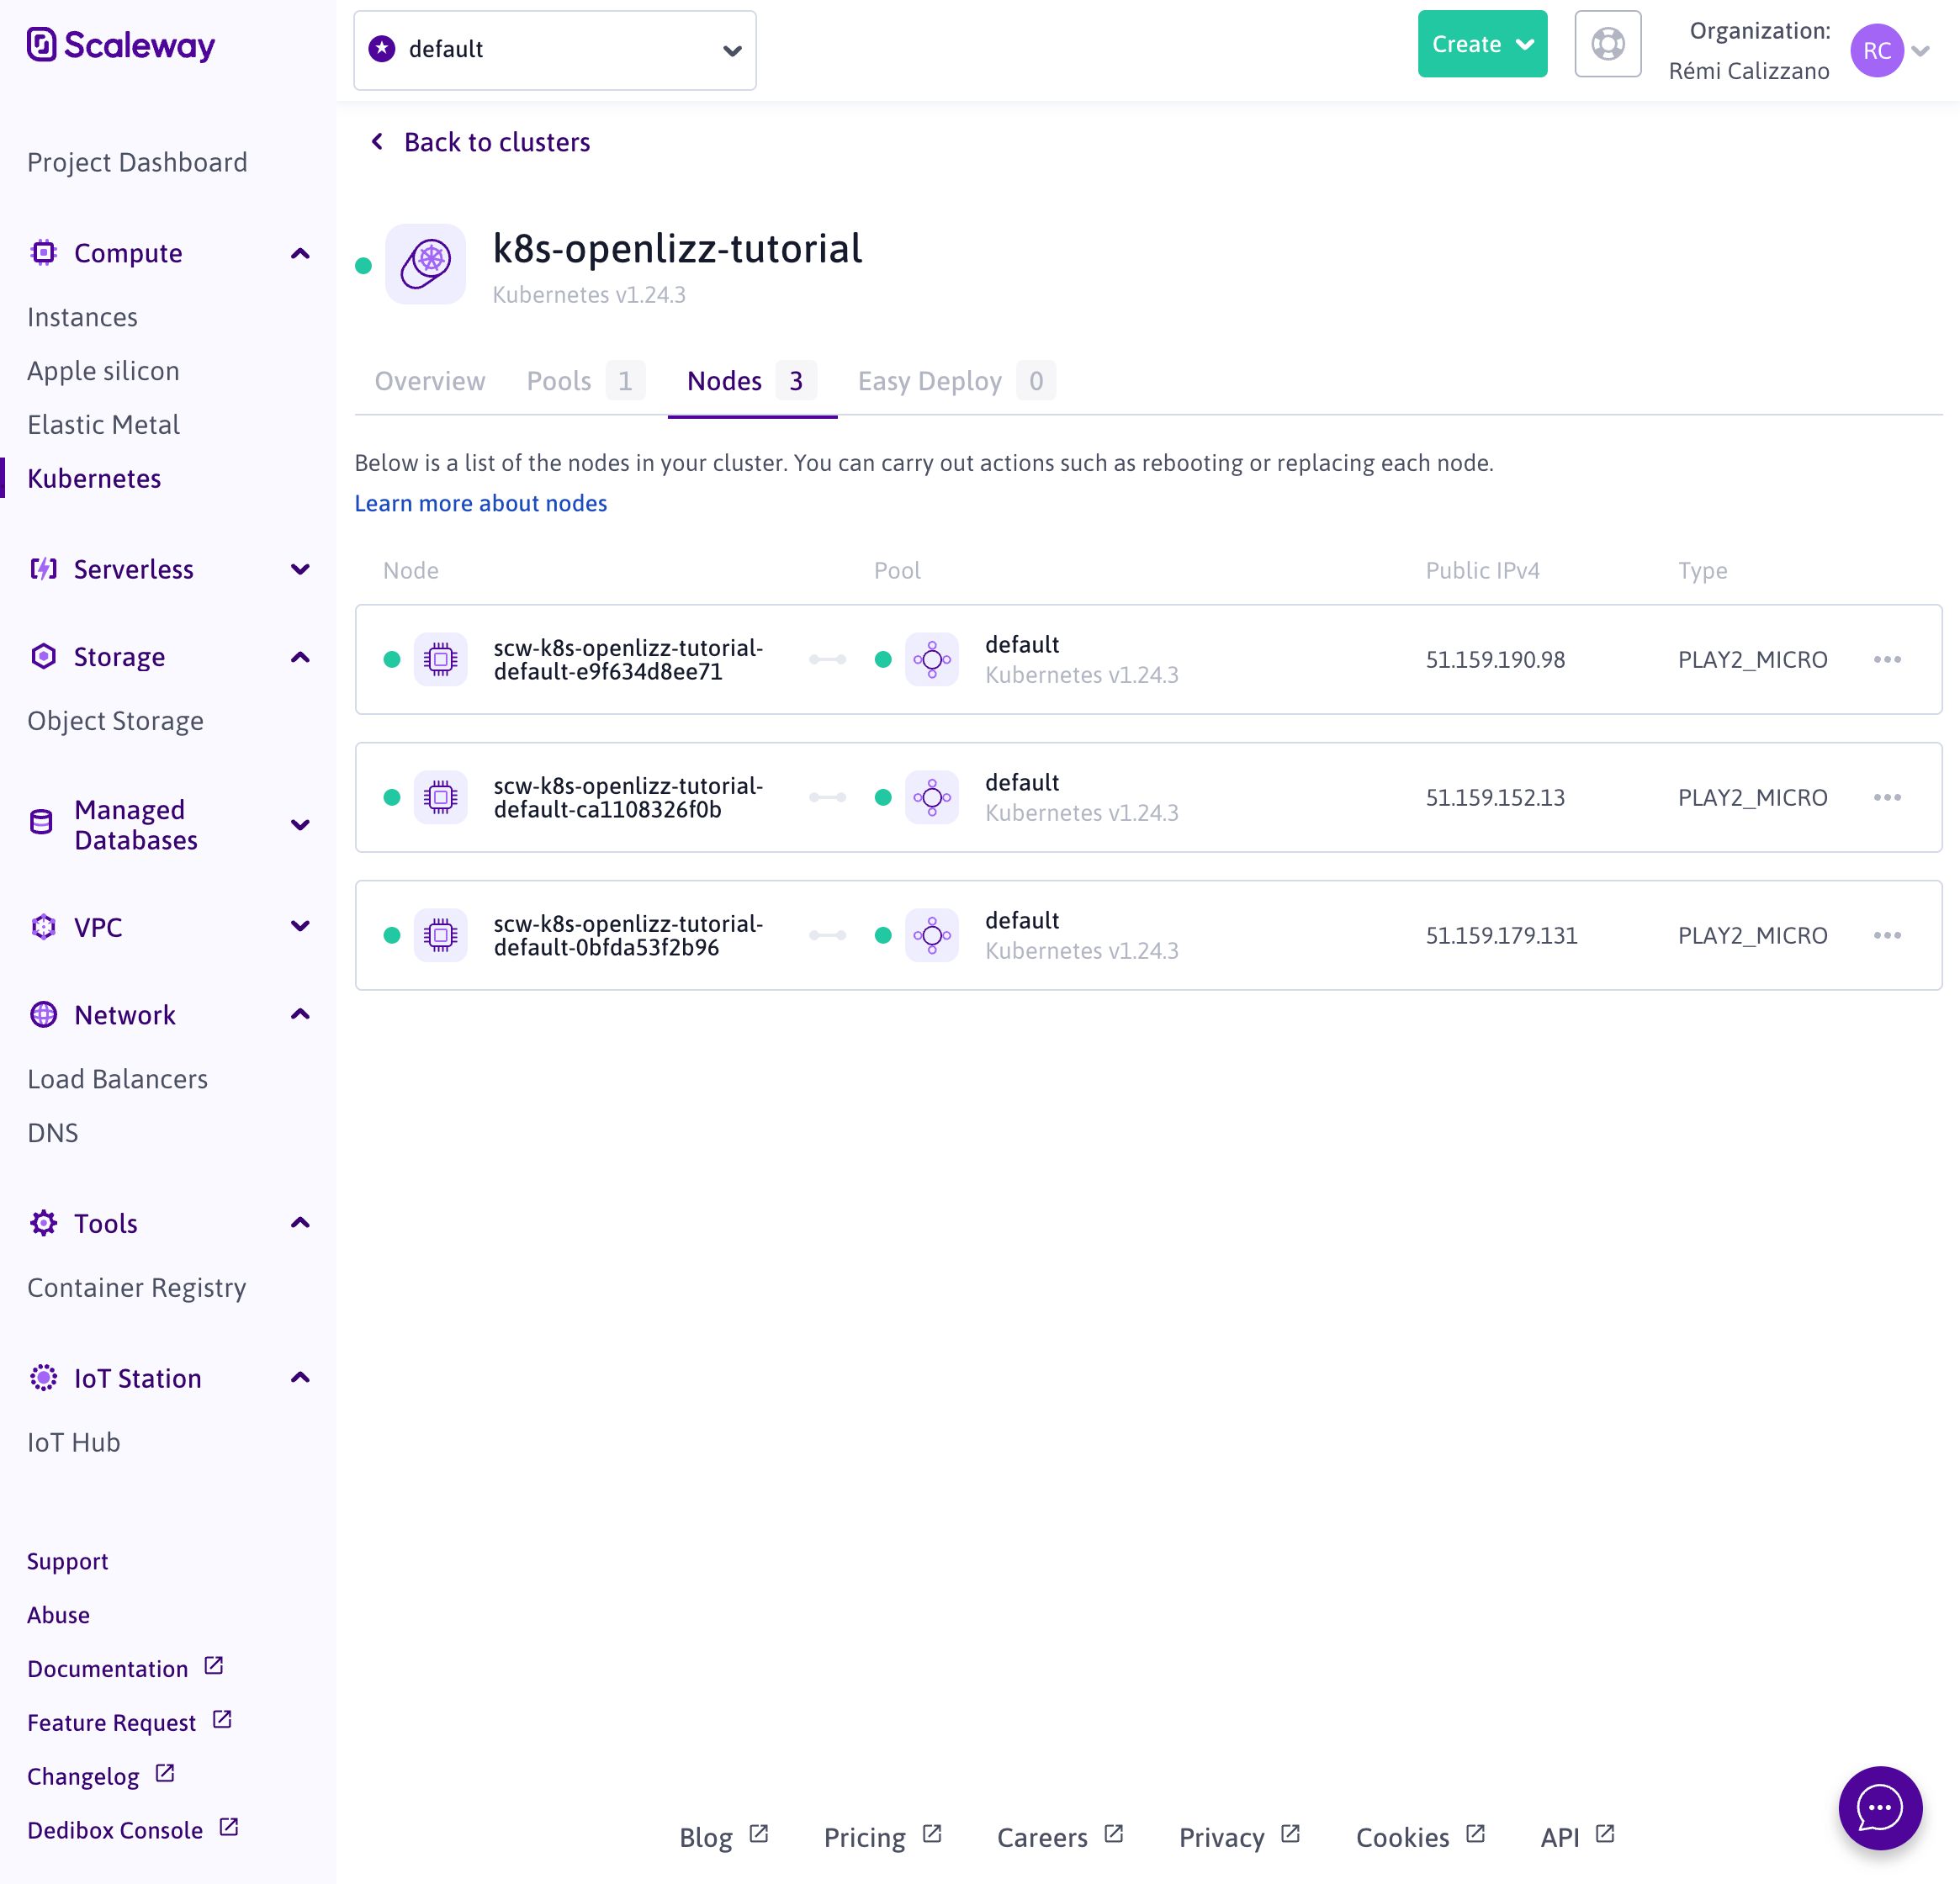
Connect the cluster locally
In order to be able to interact with the cluster locally, you need to download the kubeconfig file by clicking "Download file":
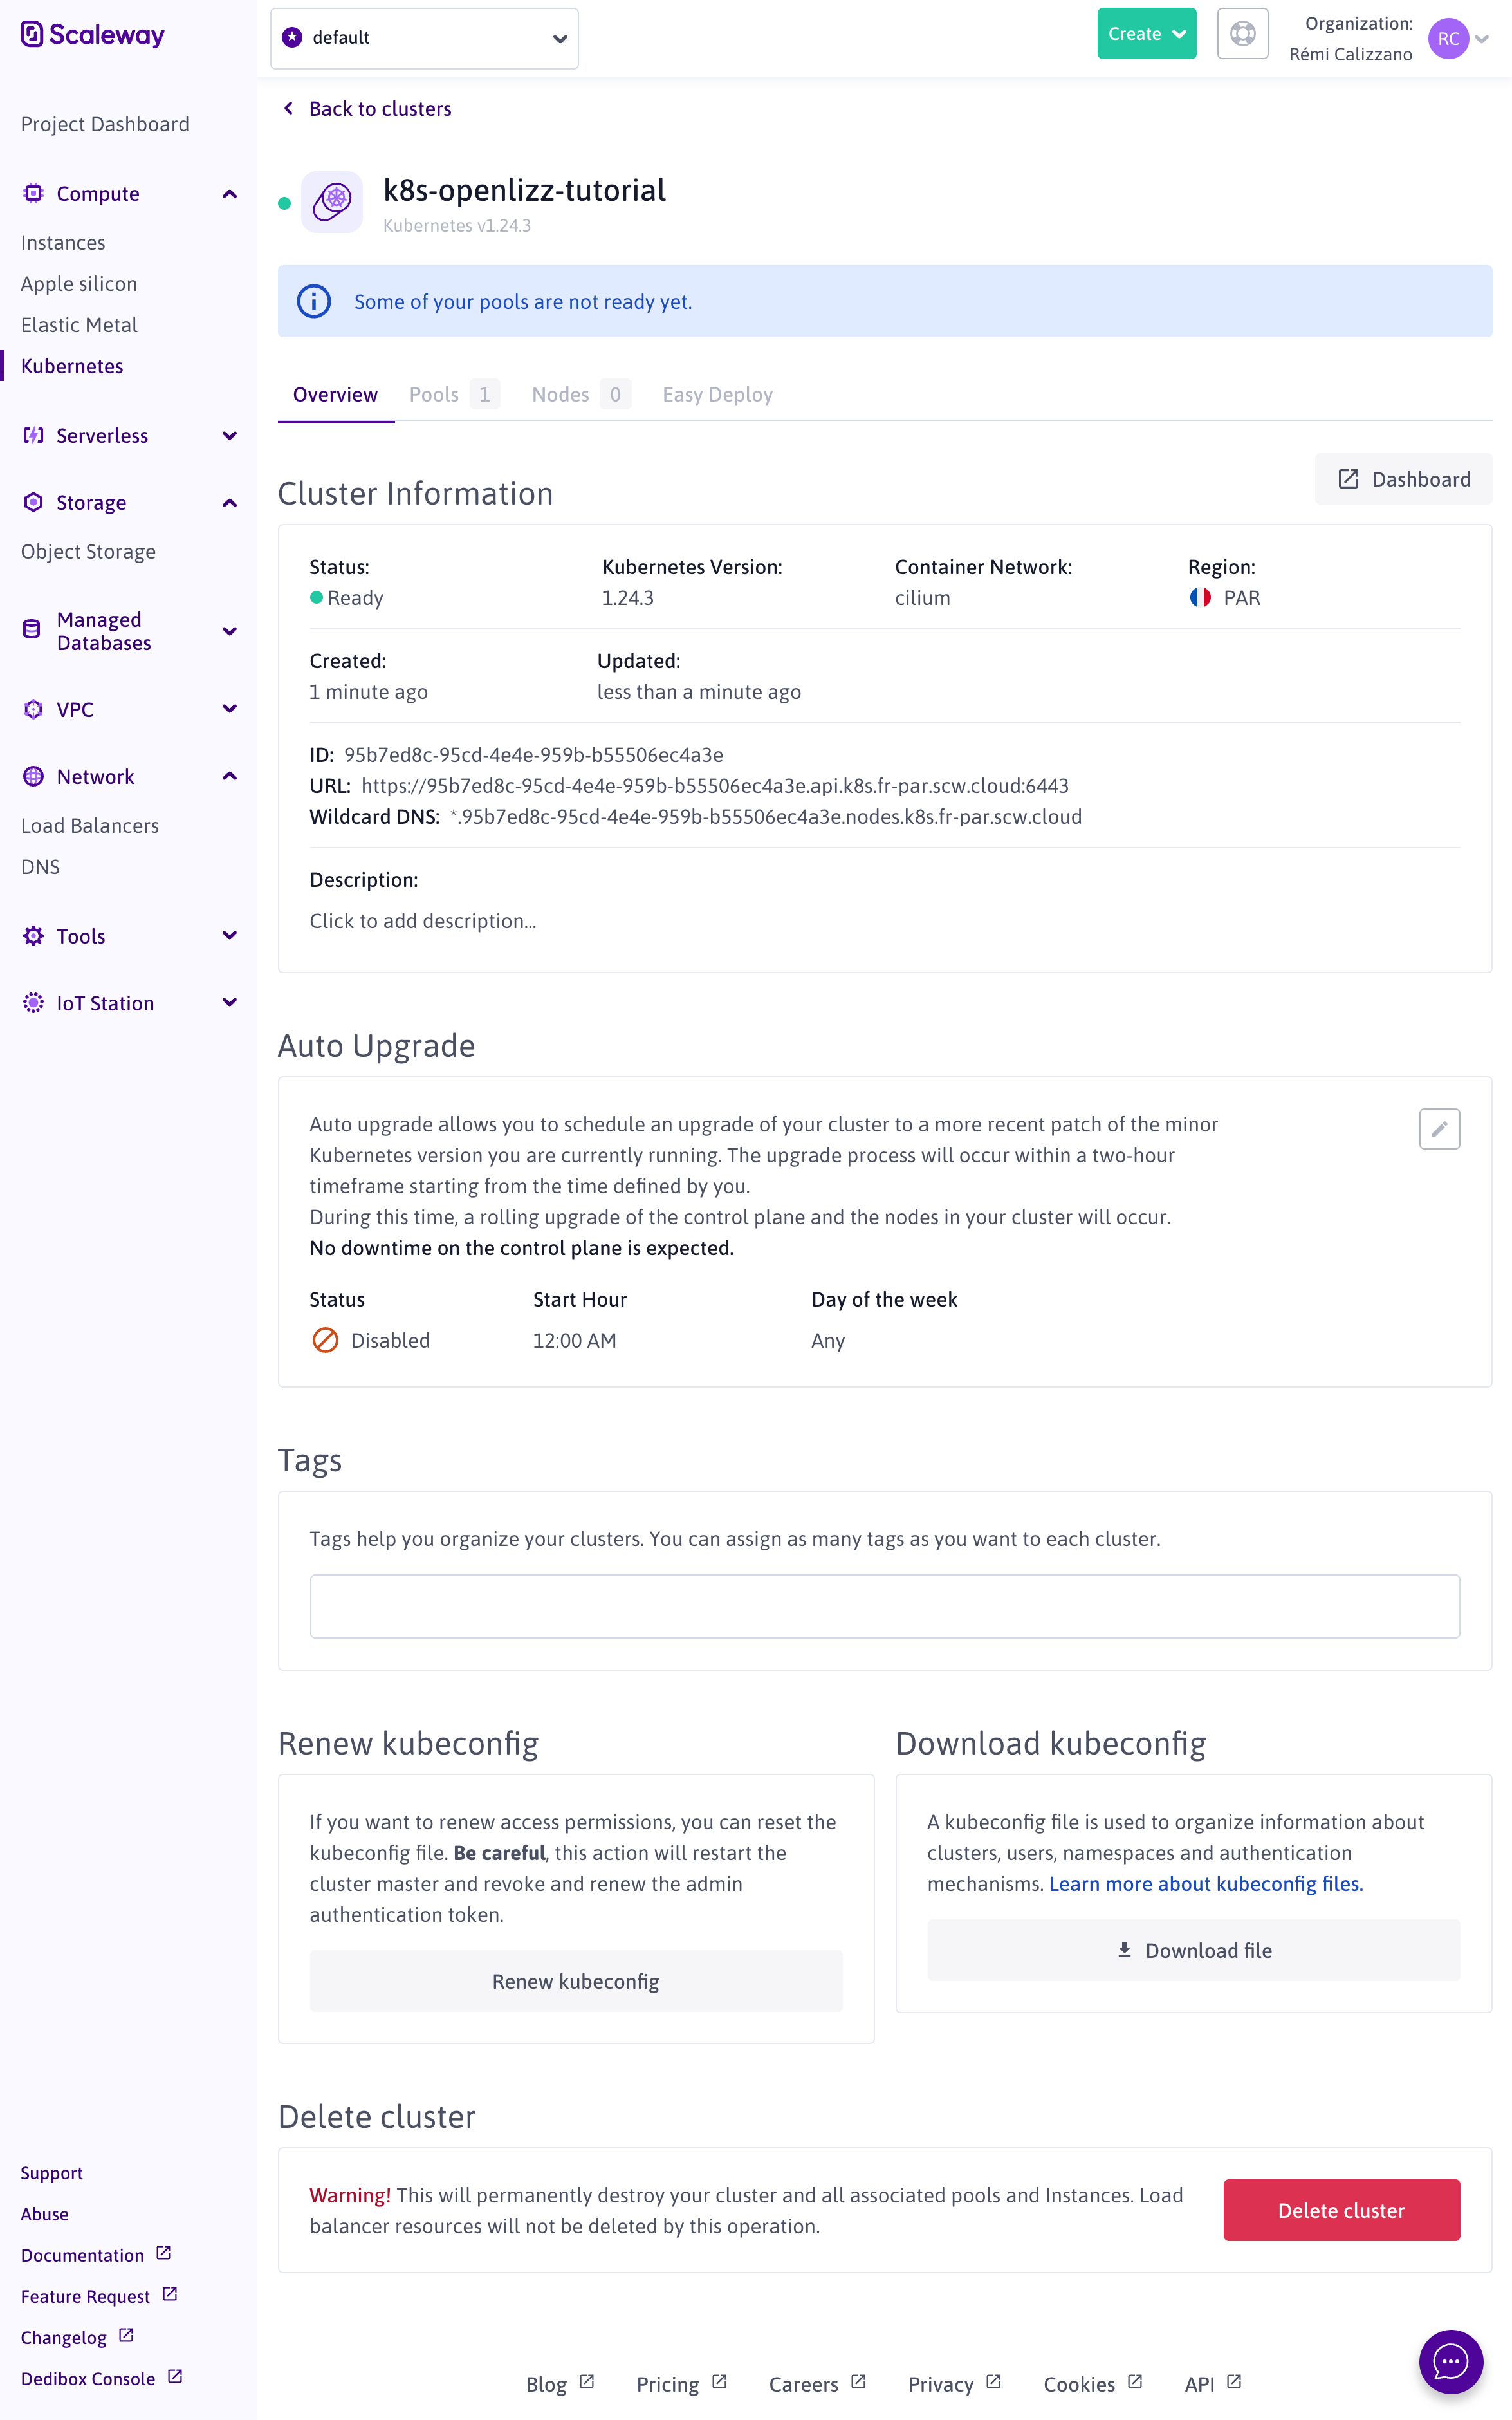
Now you can check that you can connect the cluster by running:
export KUBECONFIG=path/to/kubeconfig-k8s-openlizz-tutorial.yaml

kubectl get nodes
The output is similar to:
NAME                                             STATUS   ROLES    AGE     VERSION
scw-k8s-openlizz-tutorial-default-5e1ab704fb42   Ready    <none>   2m55s   v1.24.3
scw-k8s-openlizz-tutorial-default-716196f2a51e   Ready    <none>   3m      v1.24.3
scw-k8s-openlizz-tutorial-default-914d4e8fb2ed   Ready    <none>   2m54s   v1.24.3